Measuring your blood glucose at home is one of the most powerful steps you can take to understand your metabolic health, prevent conditions such as type 2 diabetes, and make daily decisions based on real data. With simple and accessible tools like a glucose meter, you can start today—no lab visit required.
In this practical guide, we explain how, when, and why to measure your glucose from home safely and effectively.
What Is Blood Glucose and Why Should You Measure It?
Blood glucose is the level of sugar circulating in your system. It’s one of the body’s main energy sources, but when it stays high for too long, it can contribute to organ damage, fatigue, inflammation, and chronic disease.
Measuring your glucose helps you:
- Identify spikes or drops related to your eating habits.
- Evaluate your response to certain foods, fasting, or exercise.
- Detect changes before they become bigger problems.
What Do You Need to Get Started
- A reliable digital glucose meter (preferably one that provides results in under 5 seconds).
- Test strips compatible with your glucose meter.
- New lancets for every measurement.
- Alcohol or disinfectant solution.
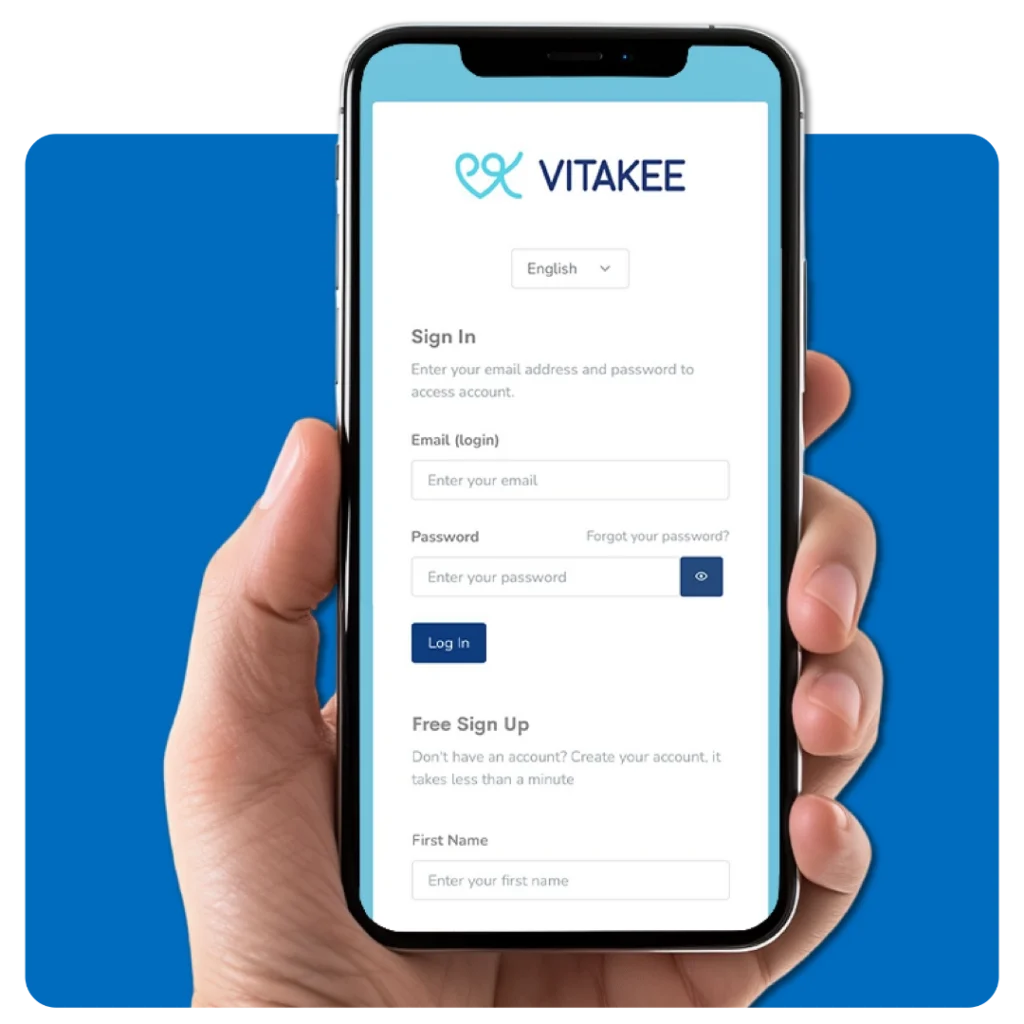
- A platform to log your data (for example, VITAKEE).
What Are the Best Times to Measure Your Glucose?
We recommend starting with these 3 basic measurements:
1. Fasting Glucose
- Ideally measured upon waking, before consuming any food or drink.
- Helps evaluate your baseline metabolic control.
- Optimal values: between 70 and 99 mg/dL (according to the ADA), though this varies by context.
2. Postprandial Glucose (2 hours after eating)
- Measures how your body responds to food.
- Test 90 to 120 minutes after a normal meal.
- Expected values: under 140 mg/dL in healthy adults.
3. Pre-workout or Post-exercise Glucose
- Helps you understand whether you’re training in a low-glucose state or with good energy availability.
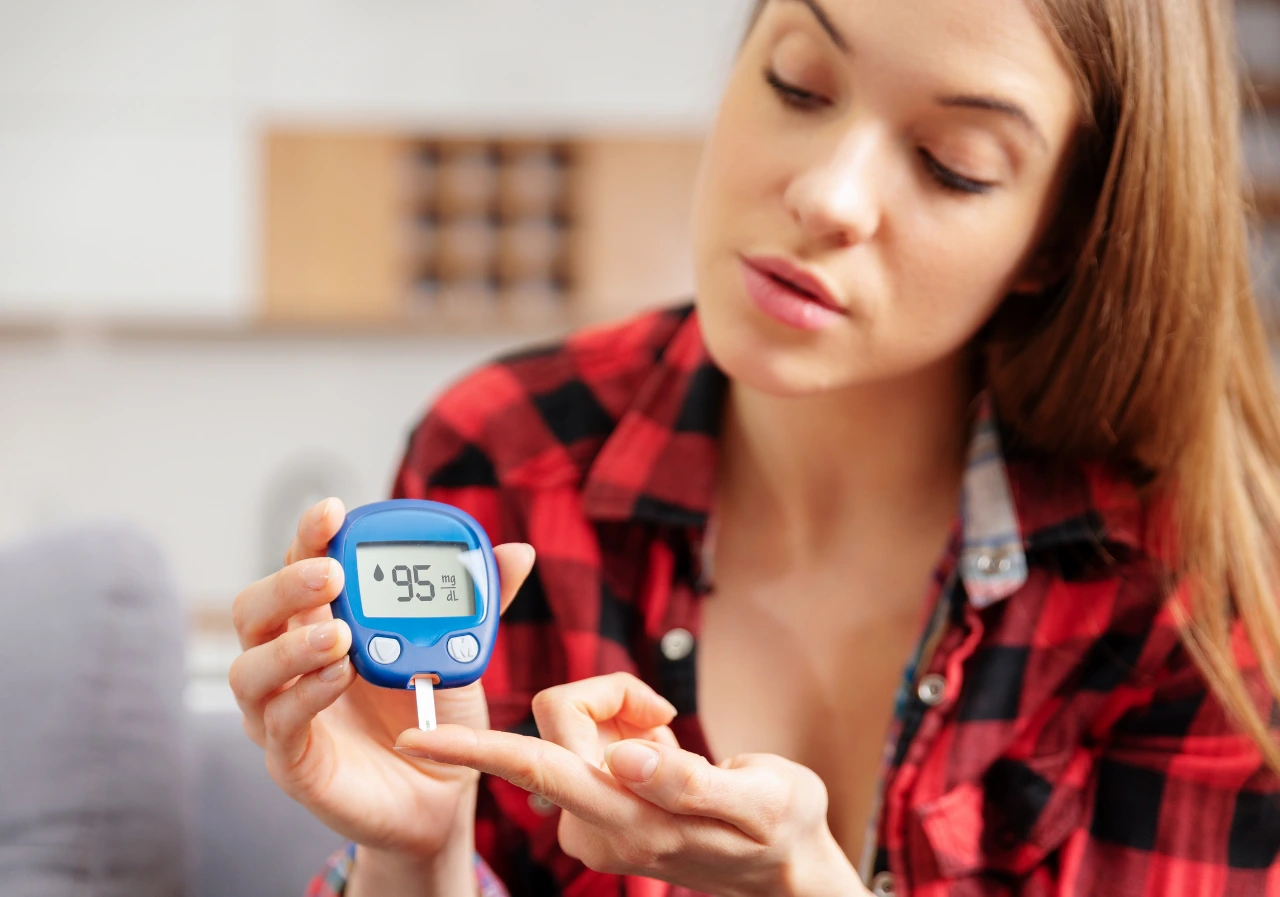
Step-by-Step Guide for a Safe and Accurate Measurement
- Wash your hands with soap and water. Avoid using hand sanitizer.
- Dry your fingers completely before pricking.
- Insert the test strip into the glucose meter.
- Use a new lancet to prick the side of your ring or middle finger.
- Gently press to obtain a drop of blood.
- Apply the blood to the strip and wait for the result.
- Log your value. You can also add notes about what you ate, your energy level, or symptoms.
Additional Recommendations
- Don’t reuse lancets.
- Don’t measure glucose right after showering or performing intense exercise.
- Keep your glucose meter calibrated according to the manufacturer’s instructions.
- Store your strips in a dry, closed container.
Where Should You Log Your Data?
You can track your readings on paper, an Excel sheet, or—more visually and securely—on platforms like VITAKEE, where you not only see your trends but can also share them with specialists and detect patterns.
Conclusion
Measuring your glucose at home isn’t just for people with diabetes. It’s a powerful tool for anyone wanting to make informed decisions about their health, energy, and overall well-being. Start today, record your data, and take control.
Remember: your data belongs to you. Use it to your advantage.